


Introduction
This guide covers the essentials of using PGP on Linux-based systems, such as Tails. You will learn how to generate keys, send encrypted messages to vendors, decrypt incoming messages, and export your keys for safekeeping.
Step-by-Step Guide
1 Key Generation
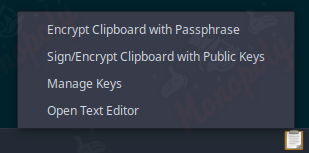
After installing the OpenPGP Applet (installed by default on Tails), you will notice a clipboard either in the taskbar or the lower right corner of your screen, left click the icon, and select Manage Keys.
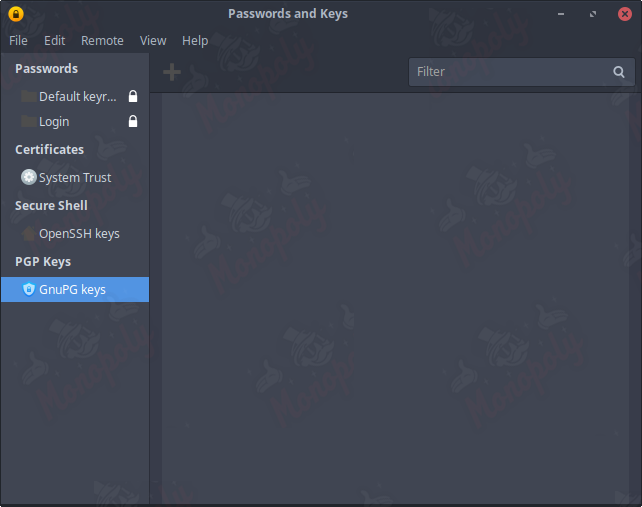
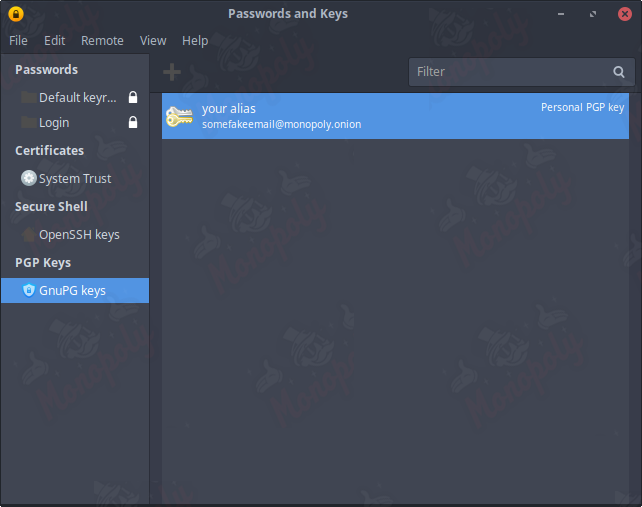
Select GnuPG keys in the list on the left then the plus icon towards the top left center of the window.
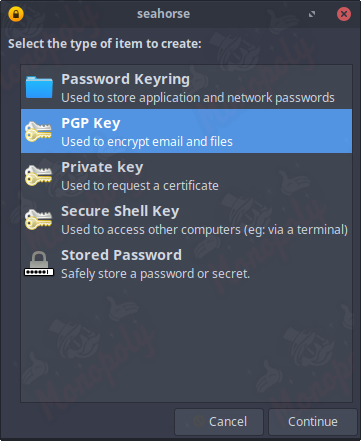
When prompted with what type of item you would like to create select PGP Key.
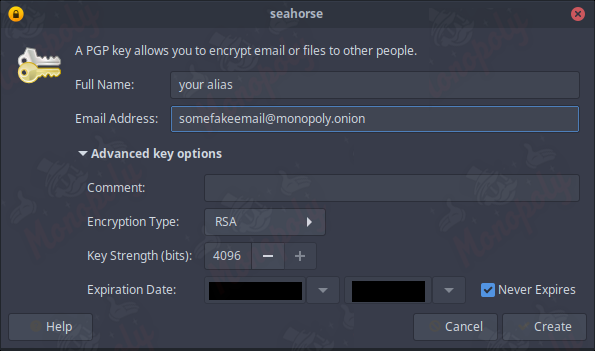
After selection another form will pop up asking you to input some details. Where it states full name type your alias and a fake/secure email, it is essential you do not type your name or personal email address (like that needed to be said). Ensure the key does not expire and you select the highest value for the key strength which is 4096 bits then click on create.
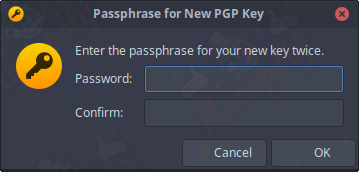
You will then be asked to enter a secure password that you need to remember as it is required when importing, exporting, and interacting so ensure you do not forget it.
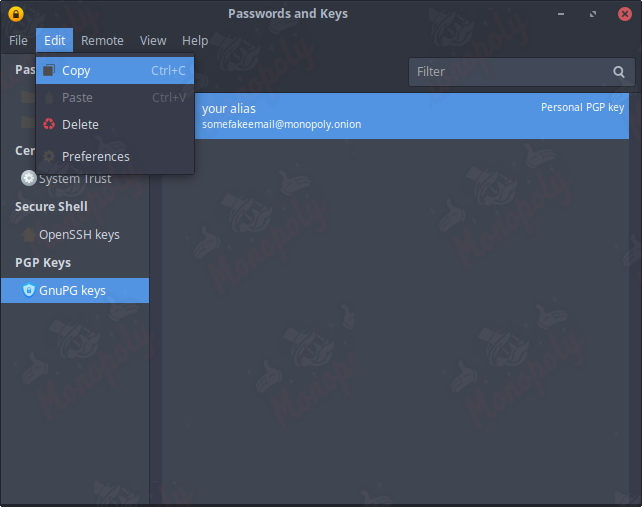
You now have your own PGP key, to view your public key (the one you publicly share) click on the name of your key in the list, select edit, then finally copy or to save time click your name in the menu and press CTRL+C.
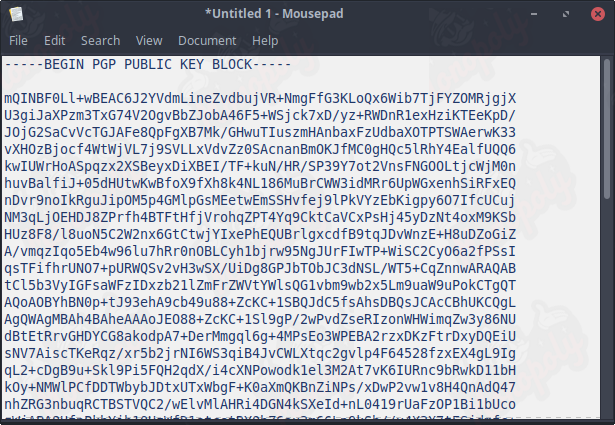
Finally your public PGP key is copied to your clipboard which you can then share as you please.
2 Sending a PGP encrypted message
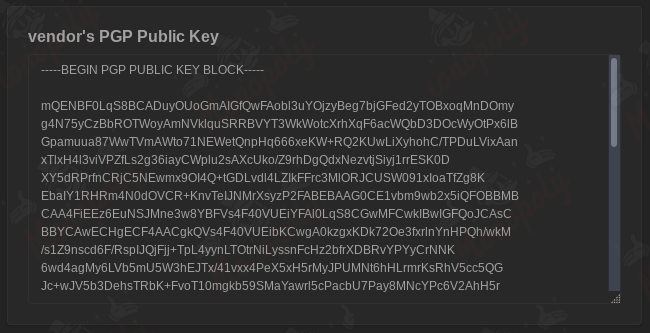
To send a PGP encrypted message, you should obtain the PGP public key of the individual whom you would like to communicate with, in our case, it is likely to be the vendor. You can find the vendors PGP key on your orders tracking page.
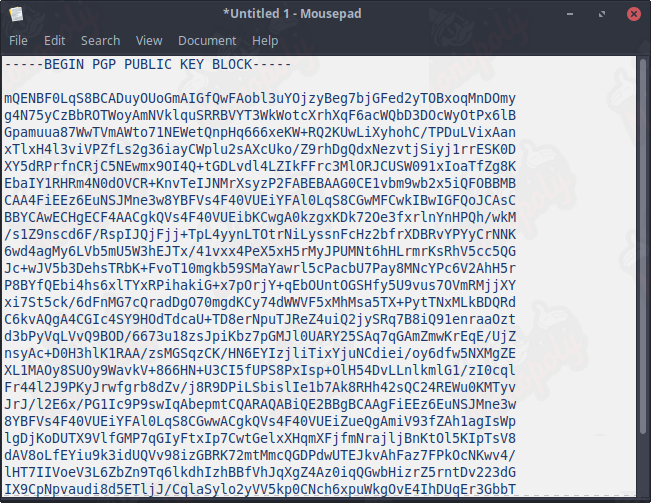
Copy the individuals public key into a notepad document then save it, once done you can then return to the manage keys window.
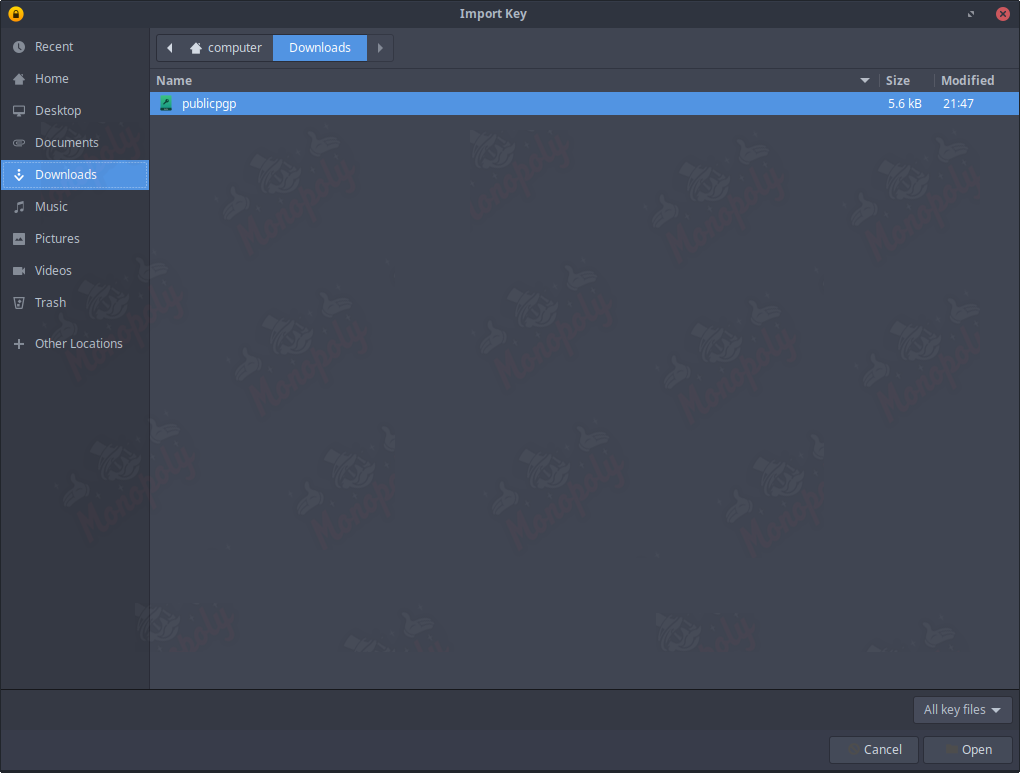
Click on file then import, select the file you just saved then click open, another window will pop up with some in-depth information of which you should click import.
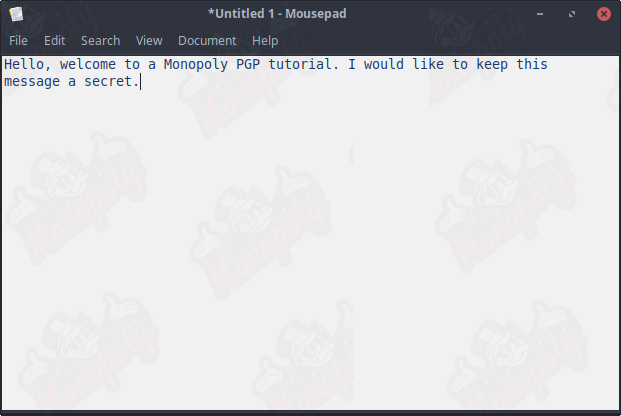
Now you are ready to encrypt your message, so open a blank notepad document and type out what you need to type out then copy the entire message to your clipboard.
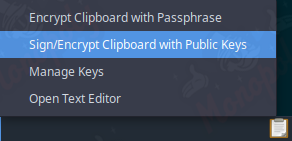
Go back to the clipboard icon located in your taskbar or on the bottom left of the screen, left click, then select sign/encrypt clipboard with public keys.
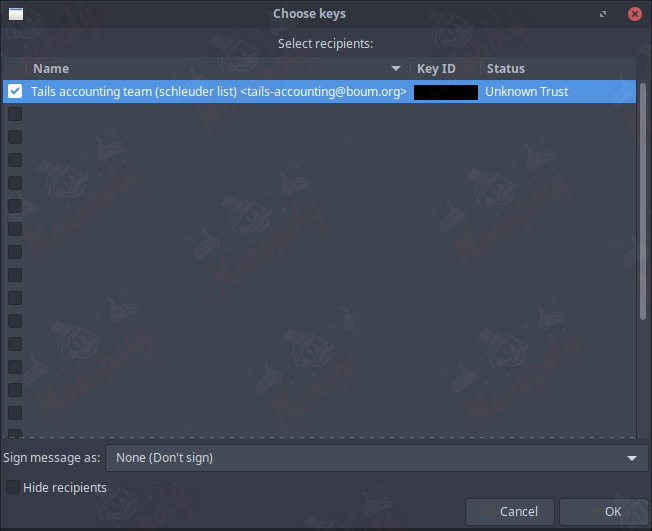
A window will pop up asking you to choose a key, you imported it earlier so check the box next to the correct name then press ok. There is no need to sign the message.
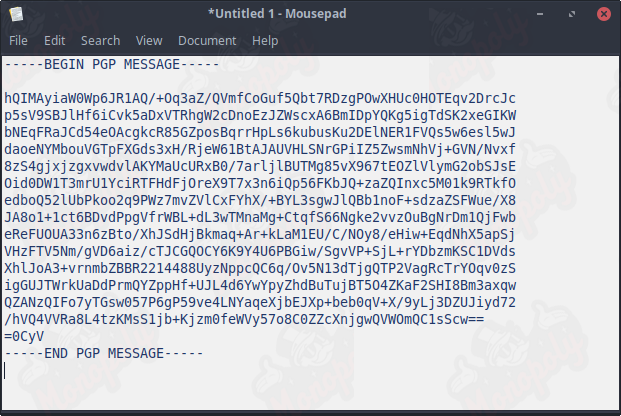
Once done, the message should be saved to your clipboard. Simply take this string of text and send it to the intended individual.
3 Receiving a PGP encrypted message
Receiving a PGP encrypted message is simple; an individual will use your public key to encrypt a plaintext message that can only be decrypted and read by the owner of what we assume is your PGP key. To do this, we copy the entire PGP message onto your clipboard.

You will notice the clipboard icon in the bottom right corner now has a padlock indicating that you have a message pending decryption. Left-click the icon and select decrypt/verify clipboard.
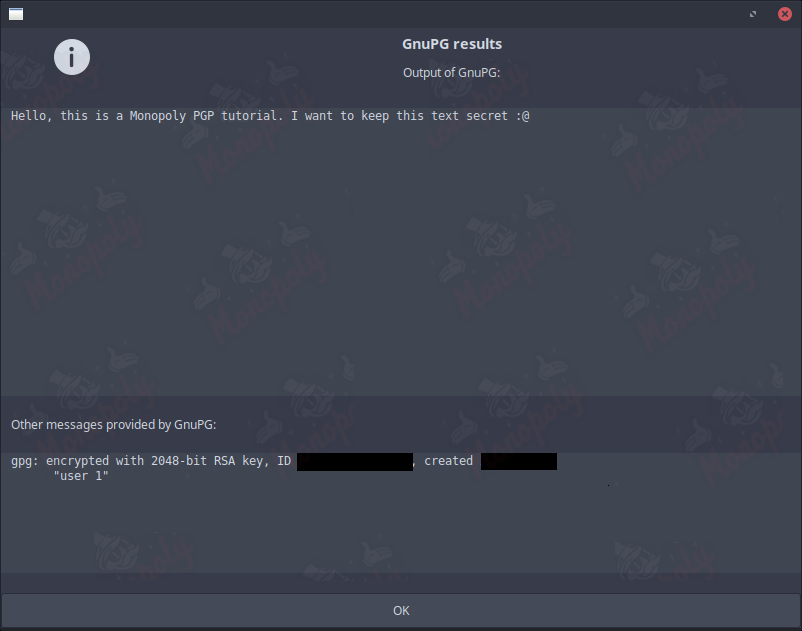
A popup will appear asking for your password (you set this up earlier), so go ahead and enter it and then your message will appear assuming the encrypted message was intended to be read by you.
4 Exporting and saving your PGP Key
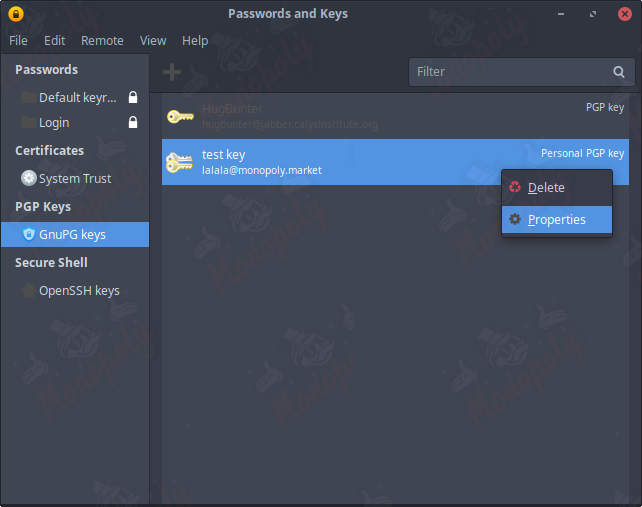
Left click on the clipboard icon then select manage keys, on the left list select GnuPG keys which should display all of your imported keys. Right click on your personal PGP key then select properties.
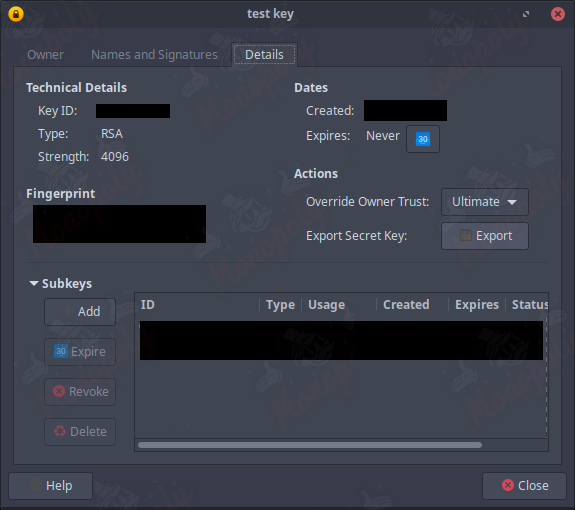
Once on the properties menu select the details tab and click on export secret key. A window will pop up asking for your password, enter it then save the file in a secure location.
To import a key go back to the manage keys menu, click file then select import, then select the .asc file you saved previously.
Conclusion
You have now mastered the basics of using PGP on Linux. Correctly using PGP is essential for maintaining privacy and security. For more security-related tutorials, visit our main section.
Back to Tutorials


